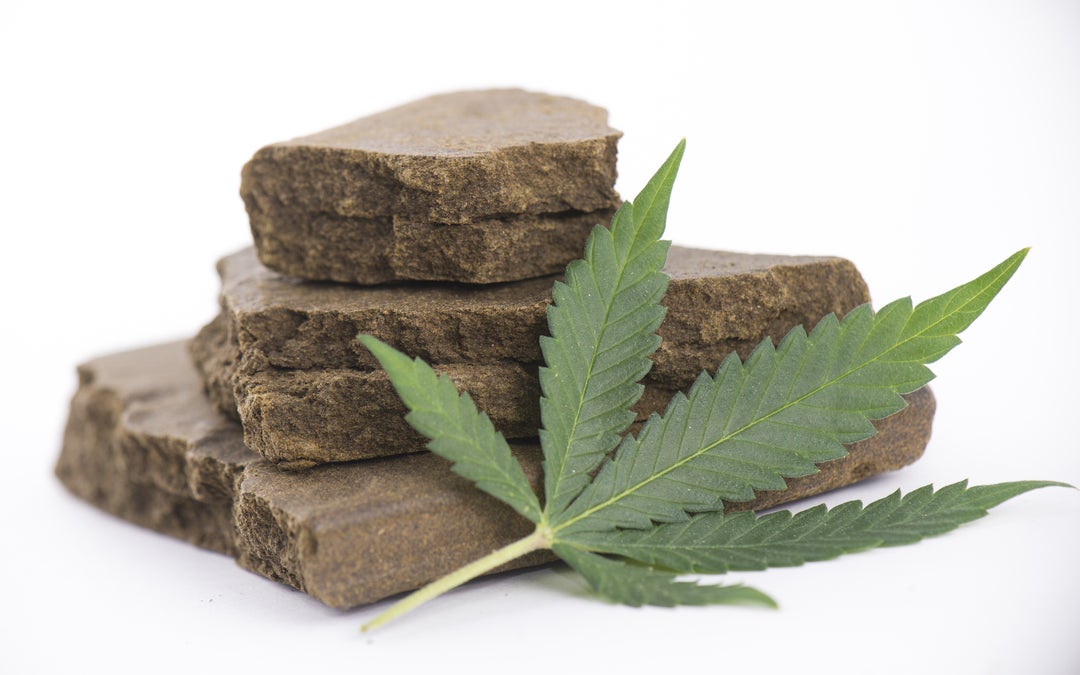
Hash, also known as hashish, comes from separating the resinous trichomes- also known as kief- of the cannabis plant, then collecting, heating, and pressing the kief together into blocks to create hash.
Making hash from kief not only changes the consistency from the fine powder of kief to solid hash, but it also affects the quality of the high you get when you smoke it. Hash is generally more potent than kief because it’s much denser.
While there are large scale and costly procedures for making hash, you can also do it at home relatively affordably and easily.
What is Hash Made From?
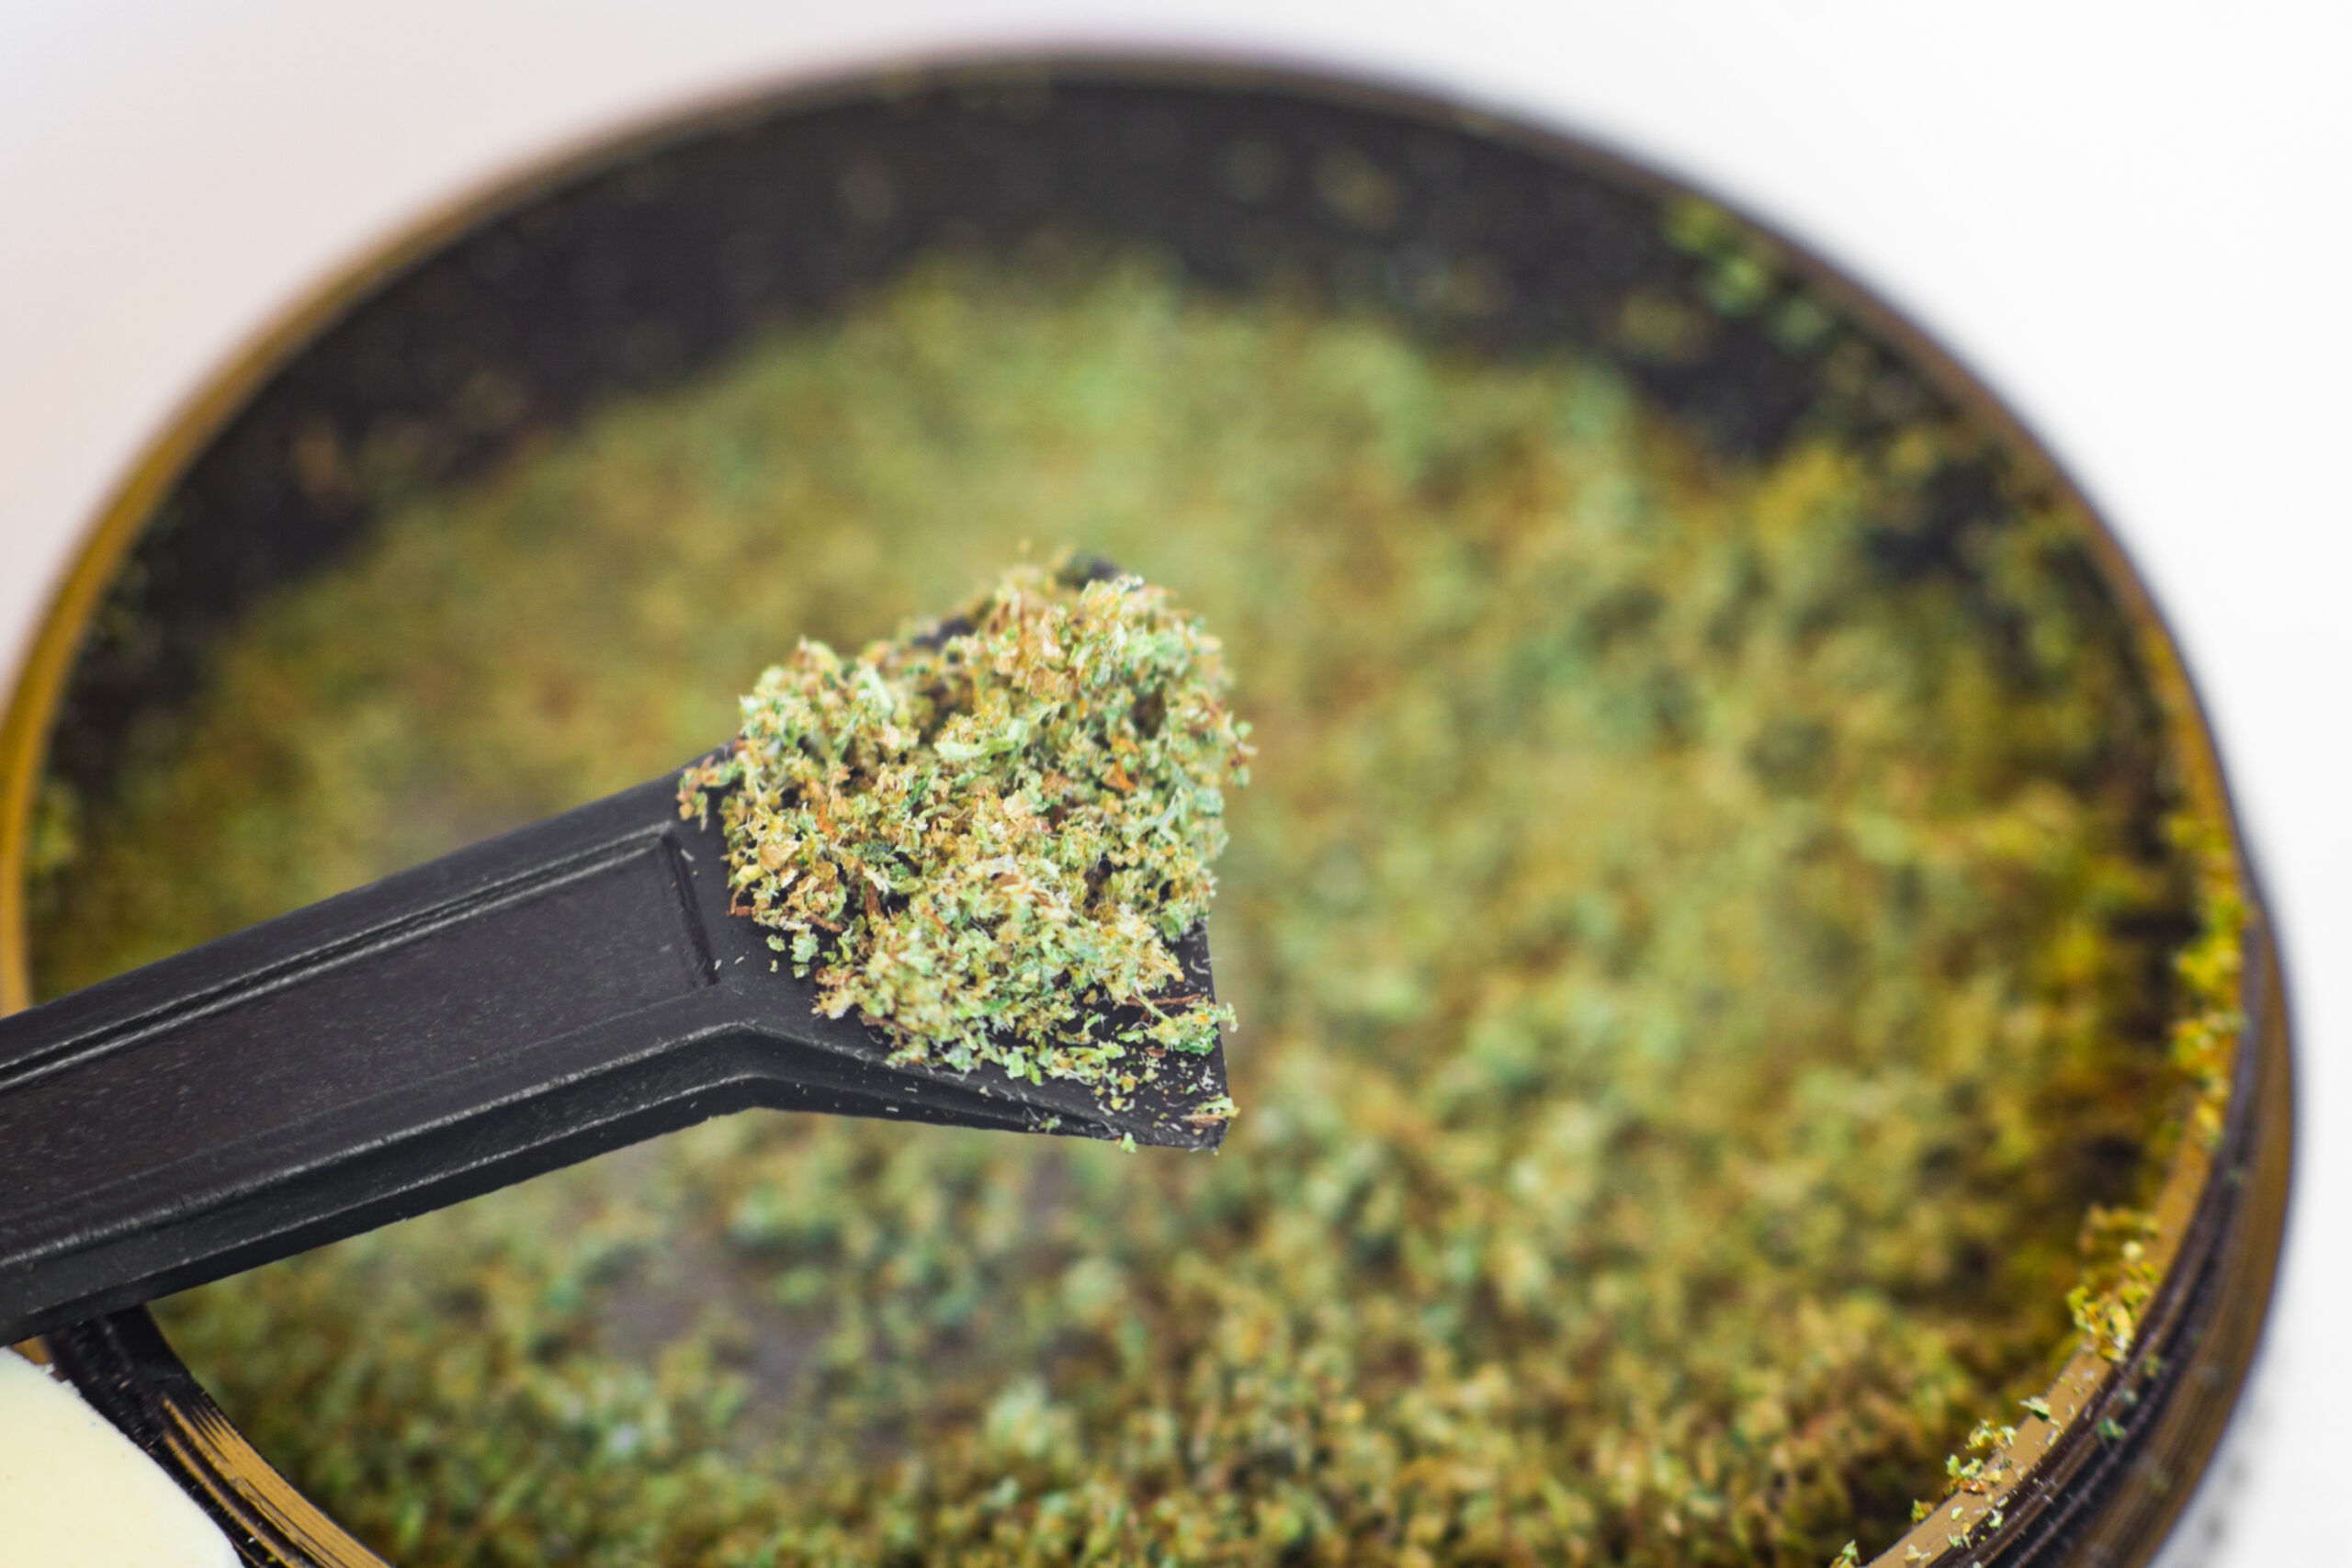
Hash comes from the trichomes of the cannabis plant. Trichomes are the tiny crystals you often see covering the buds and stems, and they produce sticky resin designed to deter predators.
Trichomes are essential because they are packed with the cannabinoids and terpenes responsible for making weed so popular. They contain a higher concentration of THC— 50% vs. 12-25% in marijuana flower—delivering a more power-packed high when consumed. When collected, trichomes are often referred to as kief.
How to silkscreen your kief
Another inexpensive method of collecting kief is with silkscreens, like those you would use to make T-shirts. You can purchase silkscreens at any art supply store. Choose between 80-270 LPI (lines per inch). Many people buy multiple silkscreens with successively smaller holes to keep refining their kief.
Freezing your plant matter a few hours beforehand can help with the separation process.
Place your plant matter on the silkscreen and push it around the screen with an old credit card. Make sure you have a container underneath to catch the kief, which will fall through the screen.
Store your kief in an airtight container in a cool, dry, dark place. Once you save up a decent amount, you’ll be ready to make hash.
Collect kief in your grinder
One of the most cost-effective ways to make kief is with a three-chamber herb grinder. The grinder separates the trichomes from plant matter and conveniently collects them in the “kief catch”.
Single-chamber grinders are cheaper and will collect kief too, although not as well as the kief often gets stuck on the inside- but you can always get that kief out using a small pick.
Check out our selection of grinders and other cannabis accessories here.
Making Hash From scratch – Step by Step
To make hash, you will want to invest in a hash press, also known as a pollen press. These are widely available online and at specialty stores. To get started:
- Pack your kief tightly in the press.
- Turn the crank as much as possible.
- When finished, unscrew the opposite side, and turn the crank.
Now the hash should come out.
Your finished product should look like an amber-coloured cylinder.
While this method is easy, there are also other ways to make hash. Here are a few options you can try:
Making hash by hand
1. Hand Rolling Hash
Hand rolling often occurs incidentally, like when you’re breaking up your weed with your fingers. The trichomes stick to your hands, and if you rubbed your hands together, they would form little hash balls. Repeat this process to build up a sizeable amount.
2. Charas
The process of making charas is similar to hand-rolling hash, except with charas, you’re using fresh leaves and buds from live plants instead of the harvested and cured cannabis in hash.
Remove some cuttings from a plant that is 2-3 weeks from full maturity, and from there, the hand-rolling process is the same.
Making charas is messy. If you’re too hasty, you can end up losing resin. For the best results, be patient and careful while hand-rolling.
Charas has a lot of history behind it. It originated in parts of Asia: Pakistan, India, and Nepal. It is usually sold in balls or sticks and smoked with a pipe.
3. Hand Pressing Hash
Hand pressing is suitable for small amounts of kief, a few grams at a time at most. The benefit of hand pressing is that it requires only your hands and kief.
Hand pressing is the cheapest way to make hash, especially if you’re just pressing together the kief that collects in your grinder. But drawbacks include being labour-intensive and time-consuming, especially if you’re new to hash making.
For example, some people have a hard time getting it to bind together and wind up with sore hands. That said, if you are still interested in hand pressing, medium to high-quality kief works best because it is less likely to contain much plant matter, which makes the kief less sticky.
Grab a small mound of kief—not more than a few grams. Work the kief with both hands until it starts to coalesce, then rub it between your palms or between your palm and thumb.
After 10 minutes or so, the kief should start to become denser. Dry, aged kief may be a little bit harder to manipulate because it loses some of its stickiness, but it should work if it was correctly stored.
If the kief isn’t sticking together, you can wrap it in airtight, food-grade cellophane, then wrap in thoroughly wetted newspaper, cloth, or paper towel and warm it in a skillet on the lowest setting.

4. The shoe method
You can press kief into hash right inside your shoe while doing other things! Take five grams or less of kief, wrap it tightly in cellophane or parchment paper (use a piece of tape to keep it from unravelling). Put a pinhole in the cellophane or parchment to let the air out.
Put the package in the heel of your shoe. It takes 15 minutes to an hour of being on your feet for the kief to compress, but additional time can only help. The result should be a slab of hash.
We highly recommend washing your feet first!
5. The Blender Method
Put your plant matter in a blender with enough water to cover it and lots of ice. Blend for about one minute.
Next, get a jar. Pour the mixture into the jar over a silkscreen, and let it sit for 30 minutes. You should see the trichomes falling to the bottom.
Empty 2/3 of the water from the jar, but try not to lose any trichomes. Put ice water in the jar and let it sit 3-5 minutes. Repeat draining 2/3 water, and add ice water again. Do 4-5 cycles of this procedure.
Finally, empty as much of the water as possible without losing trichomes. Get a coffee filter and pour the rest of the mixture through it. Squeeze the excess water out of the coffee filter and let the trichomes dry. Once dry, it is ready to use!
Other Ways to Make Hash
The options above are the most common approaches to making hash, but there are even more ways to do so. Let’s take a look.
6. Using a Mechanical Drum
Using a mechanical drum is a much more costly method of making kief. The drum is a container with a silkscreen covering it. You put your marijuana inside of it, and the drum shakes mechanically, separating trichomes from the plant. You will then need to put it into your pollen press to convert it into hash. For best results, freeze your weed three hours before utilizing the drum.
7. Making Hash with Dry Ice
You will need:
- Dry ice
- Safety gloves
- Bucket
- Mesh bags
For the purest resin, use a 73-micrometre bag. A 160-micrometre bag will gather more plant matter.
Put your marijuana and dry ice in the bucket. Shake and stir the bucket gently for 2-3 minutes. This process splits plant matter from resin glands. The dry ice helps your plant stay dry.
Find a clean surface, then wrap the mesh bag around the bucket and flip it over. Shake the bag over the clean surface. After a few minutes, you should see amber-coloured dust on the surface. Collect the dust together with a credit card. This is your resin. Use the pollen press method above to convert it to hash.
8. Hot Water Bottle Hash
This method works well for mid to high-quality kief that is completely dry. You need parchment paper or organic cellophane, a stove, and a wine bottle.
Place your kief on a sheet of parchment paper or cellophane. Fold the paper or cellophane in half. Bring water to a boil and fill the wine bottle with the water. Set the bottle on top of the folded paper/ cellophane.
Look through the bottle. There should be an immediate darkening in the colour of the resin, showing through the paper. This indicates that the material will bond together easily.
If the colour doesn’t change after 30 seconds, you will have to work with the resin more. Roll the bottle over the resin gently several times. Flip the paper over and repeat on the other side.
By now, the resin should resemble a flat patty instead of a mound and be sticky. Open the paper.
Fold the paper in half, then in quarters. Continue to press it. Repeat this process once more before placing it in your palm.
With the resin, form a ball, almost like you would do with clay. Press out any air pockets. The resin has to be lump-, wrinkle-, and line-free. Otherwise, continue to work it. Your end product should be a shiny mass of resin, ready to be stored.
9. Machine Pressing Hash
You can also make hash with a mechanical press. A bookbinder (also called a nipping press) works wonderfully for this purpose. You can find information on the internet about how to build and use a hydraulic jack.
You can also use a hand-pumped hydraulic press or a vice to make hash.
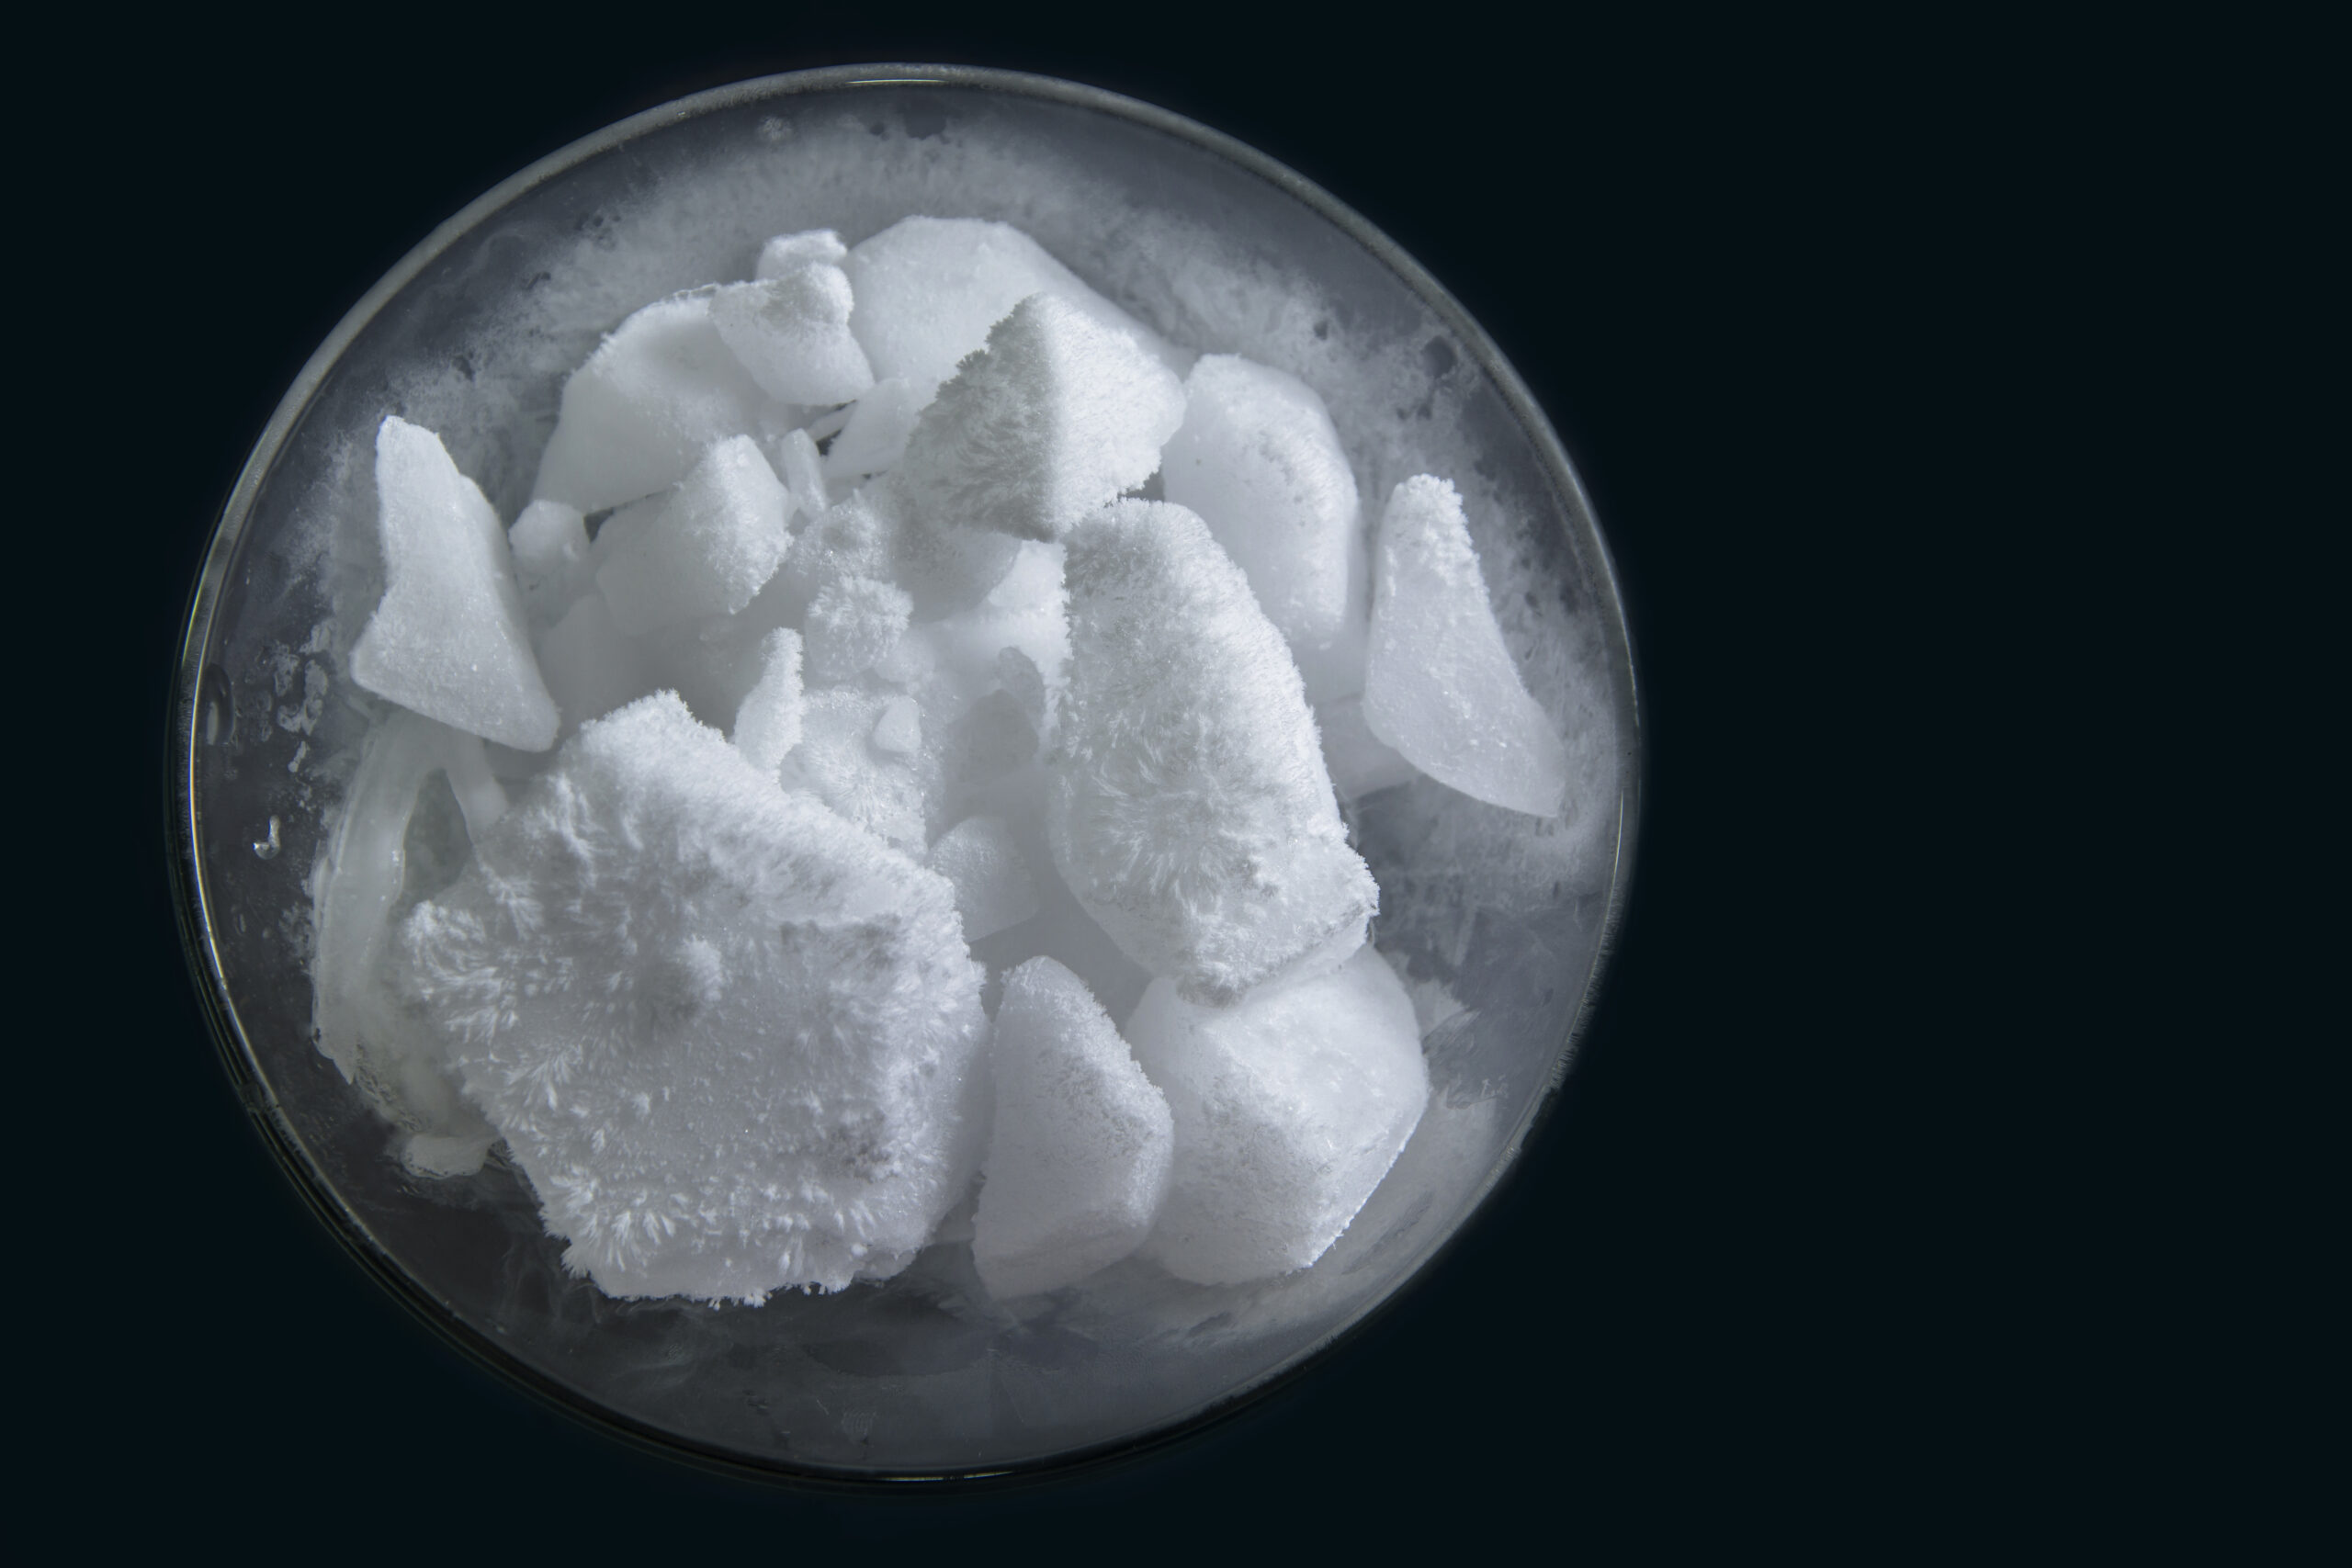
10. How to Make Bubble Hash
Bubble hash is considered a more refined version of regular hash, and it’s named for how it “bubbles” when smoked. When making bubble hash, you will need:
- Two buckets, either 1 or 5 gallons each (1-gallon for 2 oz of plant matter, 5-gallon for 8 oz of plant matter)
- 3-5 different sized micron extraction bags, also called bubble bags (suggestion: have one 25u, one 73u, one 160u, and one 220u bag.) Each bag has to fit the bucket size you selected.
- Fresh or frozen quality cannabis (trim or buds) Ideally, freeze buds and trim overnight. If you have buds, remove leaves, stems, and seeds before freezing.
- Two (2) micron pressing screens (one cotton muslin or cheesecloth will also work)
- 10-15 pounds of ice
- Water
- Towels
- Large mixing spoon
- A clean, flat piece of cardboard (where you will store your resin for seven days

Step 1: Set Up Your Station
Place towels on the floor with buckets on them. Make sure your tools and ingredients are clean and ready for use.
Step 2: Line Every Extraction Bag in One Bucket
Choose one bucket to be your mixture bucket. Start with the smallest bag and line the bucket with it. Take the next size up and line the bucket with that, and so on until the largest bag sits at the top.
Step 3: Fill the Top Bag with Cannabis and Ice
Divide cannabis into small, equal-sized batches. Make a layer inside the bag, and then a layer of ice on top. Repeat layering until you get to the top of the bucket, with the top layer being ice.
Step 4: Fill the Bucket with Water
Fill the bucket with water almost to the lip, but not so much that you lose materials from spilling. Let your bucket and the water cool. Refrigerate 30 minutes to an hour if needed.
Step 5: Stir
With the spoon, carefully stir the plant matter in the bucket.
Step 6: Strain
Lift the top bag out of the bucket and let the water drain into the bucket. Remove the top bag with the mixture in it.
Step 7: Collect Resin
The bag underneath the mixture bag should have trapped your resin. Take the bag with the resin and line the other bucket. With a smaller spoon, scrape out the olive green-coloured resin and place it on one pressing screen. Using a credit card may help.
Repeat this step for each bag, rinsing the spoon in between bags.
The quality of the resin will increase with each successive bag, with the resin in the smallest bag at the bottom of the bucket being the purest.
Step 8: Dry and Store Your Hash
With the resin now on one pressing screen, put the other screen on top of it. Using a hand towel, gently press the top screen down on the resin, removing excess water.
Place your resin on the cardboard and let dry in a cool, dark, dry place for seven days. When it becomes solid to the touch, it’s ready to be smoked, vaporized, or dabbed!
For more information on bubble hash and how it’s made, click here.
How to Make Hash: Summing It Up
As you can see, there’s no shortage of easy, cost-effective ways to make hash at home. All you need is a way to separate the trichomes (crystals and hairs) on your flower from the bud and a method to compact or press it. You might even come up with a method of your own!
The most important element in quality hash is quality flower—we can help with that. Check out our inventory!